Supplies Needed
I'm using the artwork of © Myka Jenlin, you find it Here
Scrap kit by Scrappin with Lil Old Me called Victorians Musings Here
Font: Kelly AnnGothic
Drop Shadow of choice.
Mask of choice.
Remember to Save Often!!!
Let's create
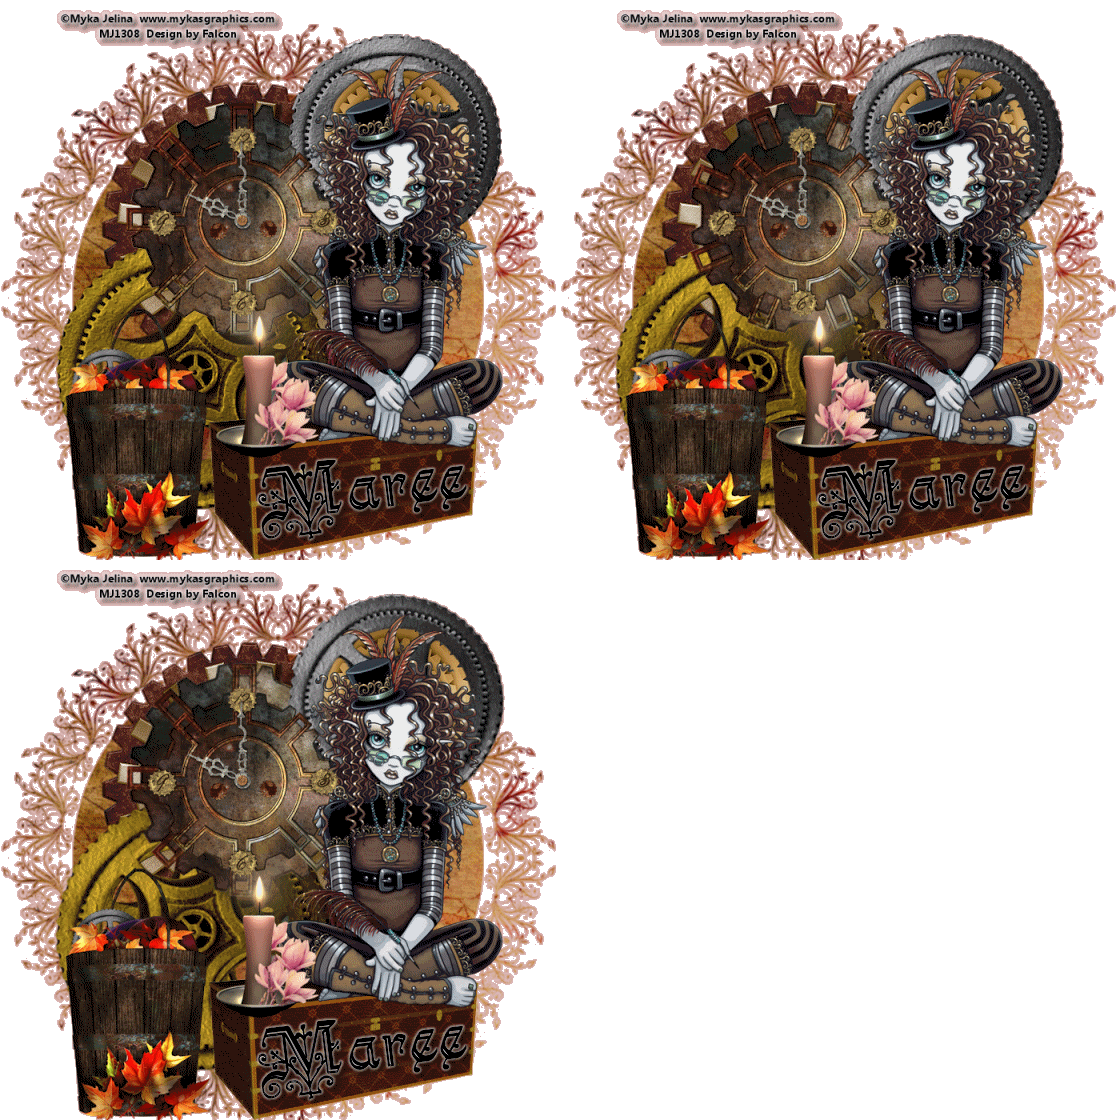
Open new image 700 x 700 transparent..
Select cim_vm-clogcluster resize 75%.
Select cim_vm-clog1 resize 45% move over middle cog.
Select cim_vm-cog3 resize 85% move to lower left clog
Select cim_vm-cog2 resize 63% move over to top right cog
Select cim_vm-cog5 resize 37% move to bottom cog on right.
Select cim_vm-luggage resize 37% move to lower right of layer.
Add your tube of choice resize if needed.Place on top of chest.
Select cim_vm-candle1 resize 35% move to left side of tube.
Select cim_vm-cogclock resize 35% move over center cog.
Select cim_vm-fallbasket resize move to left of layer
New layer select all/select cim_vm-paper5 paste into Selection/Deselect.
Apply mask/merge/merge group.
Add your Artist © and your name then crop.
Animation
1. Open Animation Shop, click back to psp.
2. Edit/Copy special/copy merged click into AS paste as new animation.
3. On layers 3 Image/FreeRotate 22 Left, repeat this for layers 4/5/6.
4. Edit/copy special/copy merged paste after current frame.
5. Now Repeat no 3 and 4 again.
6. Animation/Property frames change to 25.
Check your animation and if happy with results save as a Gif.
This is only a guide and feel free to use any other element you wish.
Most of all have fun creating.
Email me your creation, so I can show off your creations on my blog.
Thank you for using my tutorial.
Written by © Maree (aka Falcon) on March 2011
Any similarities to this tutorial are purely coincidental

No comments:
Post a Comment