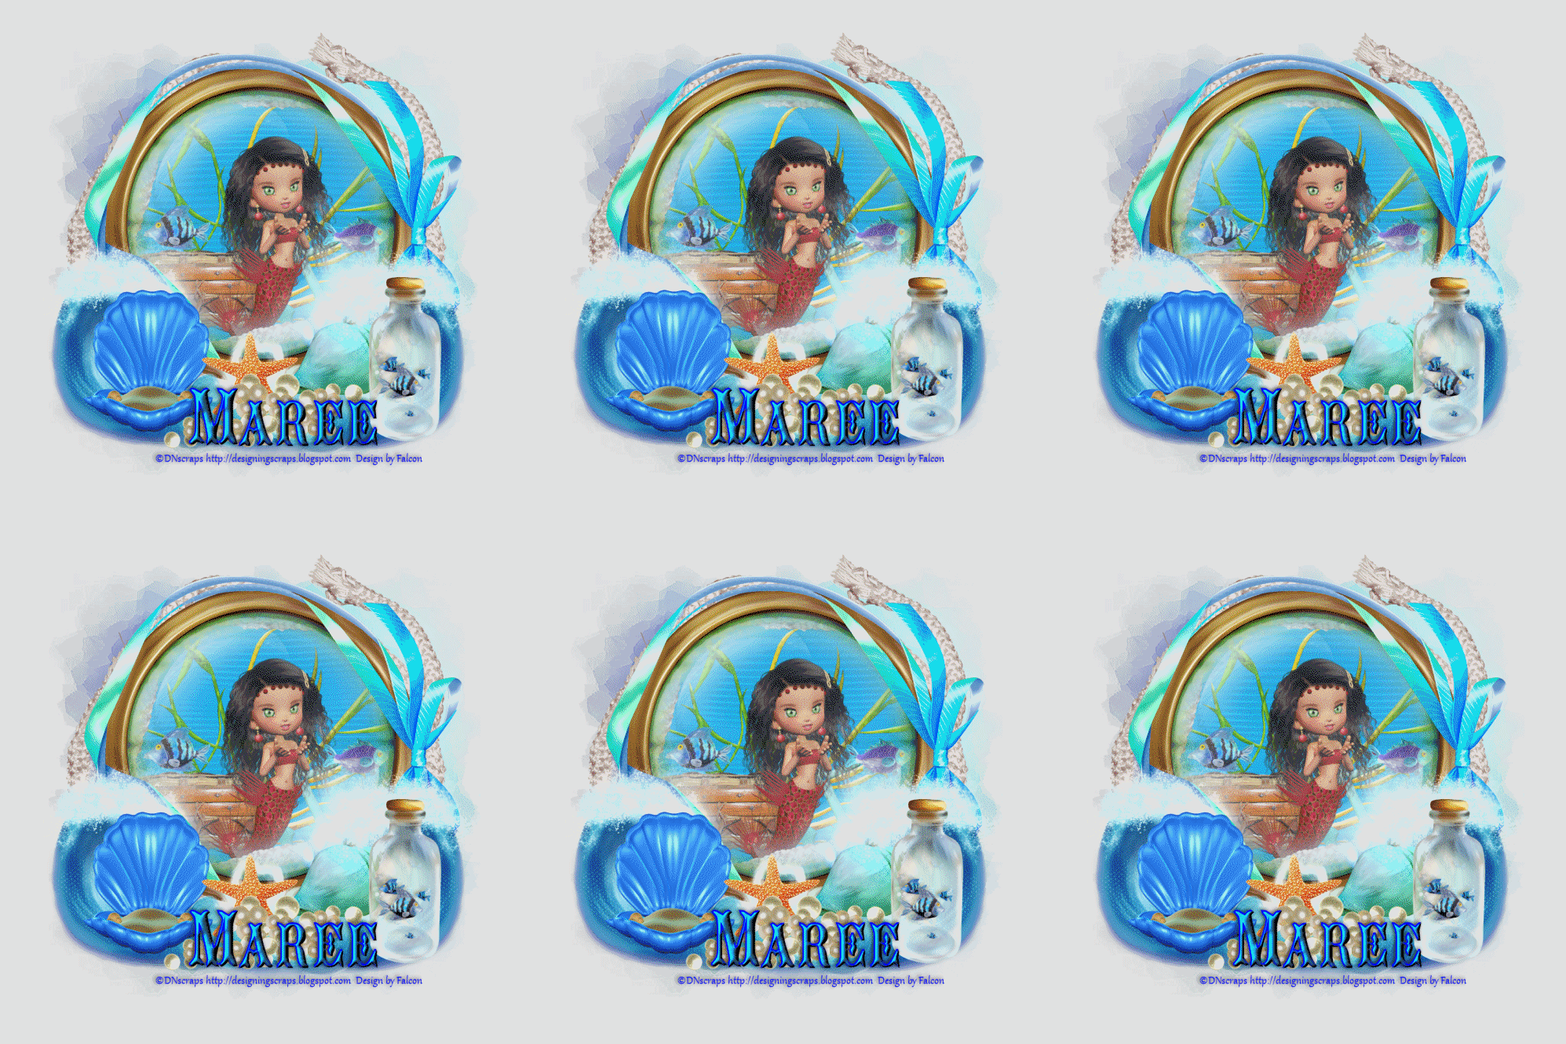
For this Tutorial you will need.
A Tube of your choice I am using the artwork supplied in Scrapkit.
Elements and Papers are from a scrap kit called Sea Secrets by Conchi *DNscraps*
you can purchase it Here.
Font:Jacques
Drop Shadow of choice.
Mask by Bev *Horse Play's Pastures*, it's #HPP27
you can download it Here
you can download it Here
Animation Shop.
Remember to Save Often!!!
Let's create
Open new image 700 x 700 transparent background floodfill with #ffffff.
Select Seasecretsstring copy paste, add drop shadow
Select Seasecretsribbonframe3 copy paste add drop shadow.
Select Seasecretstimon2 copy paste add drop shadow.
Select your Selection tool-circl draw out a cirle to fit to over timon2
,floodfill with #0099d2 move below string layer.Rename water.
Select Seascretsalgae copy paste below string layer, add drop shadow.
Select Seascretsbaul copy paste resize 45% move to left.
Select Seascretsanchor copy paste resize 50% use your pick tool to
angle it against chest, add drop shadow.
Select ap_SNjasmineA3 copy paste resize 75% move to middle of layer,
add drop shadow.
Select Seascretsfish copy paste reszie 25% move to left of layer,
add drop shadow.
Select Seascretsfish 3 copy paste image-Mirror resi ze 25%
move to right of layer.
Select Seascretsea copy paste above timon2 layer,
duplicate-Image-Mirror.
Select Seascretshellbed2 copy paste resize85% move to left of layer,
add drop shadow.
Select Seascretsstarfish2 copypaste resize 25% move to center,
add drop shadow.
Select Seascretsconch2 copy paste resize 35% move to right of layer,
add drop shadow.
Select Seascretsbottle2 copy paste resize 50% move to right of layer.
Select Seascretspearls copy paste Image-Mirror move to center of layer,
add drop shadow.
Select Seascretspaper4 copy paste apply mask merge-merge group.
Duplicate-Right click Merge down.
Add your Artist © and your name then crop and save if you dont wish to animate..
This is only a guide and feel free to use any other element you wish.
Most of all have fun creating.
Animation.
Open AS then click Propagate Paste to activate later, click back into Psp.
1. Copy Background and Mask layer only-paste as new animation.
Hit Ctrl+L 9 times, now you should have 10 frames
2. In Psp click on water layer copy paste as new animation in AS.
3. Effects-Insert Image Effects with these settings.
4. Click on Customize then apply these settings.
5. Click on Wave change to 2 then apply these settings: X -63, Y26
6. Change to wave 3apply X 29, Y65.
7. Change to wave 4 apply X -45, Y63
8. Change to wave 5 apply X -1, Y49.Click OK.
9. Click on Frame 1 and Delete it. You now should have 10 frames.
10.Edit-Select all copy.click on Mask layer to activate. Edit Paste-Into selected
frame (1) position it then click,if not happy then click
the undo button and reposition again.
11. Back in Psp close out background , mask and water layers.
Edit-Copy Special-Copy Merged.
12. In AS paste as new animation.Right click copy then paste over water layer,
remember the undo button is your friend if you need to reposition.
Check your animation. Amination - Frame Properties change to 25.
If you are now happy with your tag save as a Gif.
If you wish to show off your creations.Email me your creation
and I will place iton my show off Page.
Thank you for using my tutorial.
Written and copyrighted to Maree (aka Falcon) on 16th July 2011.
Under no uncertain terms are you allowed to make money
from anything produced from this tut, this is against my TOU's.
Any similarities to this tutorial are purely coincidental.


No comments:
Post a Comment