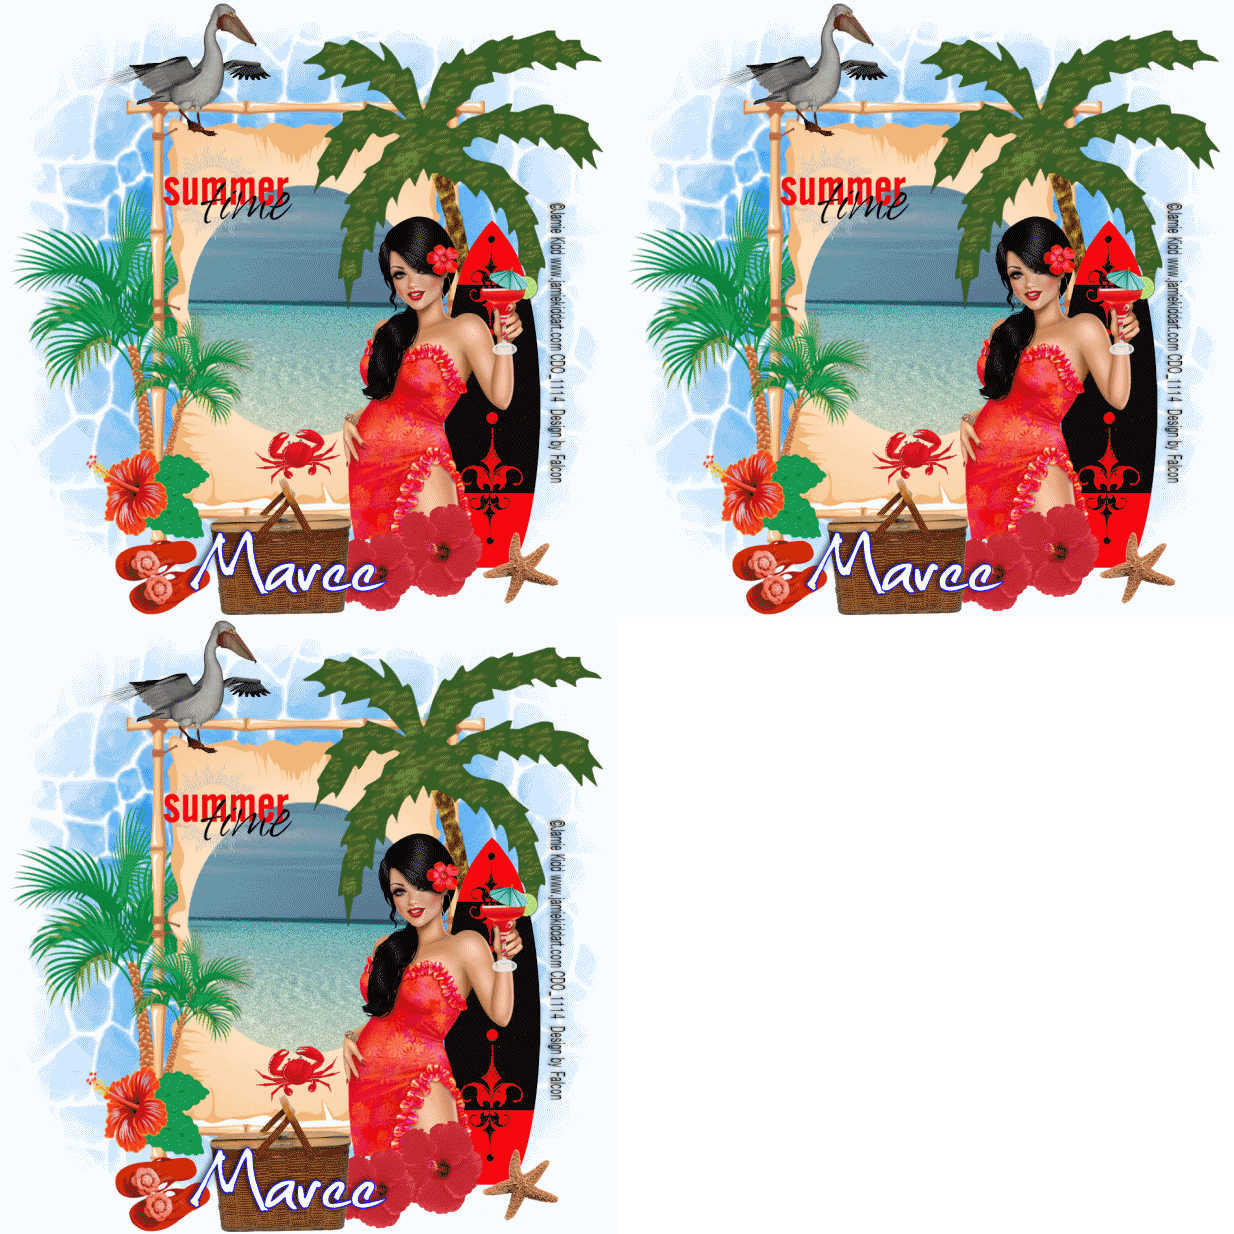
For this Tutorial you will need.
A Tube of your choice I am using the awesome artwork of © Jamie Kidd ,
which you must have a license to use you can get one at CDO
Elements and Papers are from a scrap kit called Beach Bunny Babes by Sherry *D'Ambrosio Arts* ou can purchase it Here.
Font: Christopherhand
Drop Shadow of choice.
Mask by Bev *HorsePlay's Pastures*, it's #HPP28
you can download it Here
Remember to Save Often!!!
Let's create
Open new image 700 x 700 floodfill with #ffffff.
Select DAA_bbb_bamboo frame copy paste resize 25%Selections-Modify-
Expand by 4 copy pasteDAA_bbb_paper3 resize by 70%.
Selections-Invert-Delete.Move below frame-deselect.Duplicate this layer
twice rename water1,2 and 3.
Select DAA_bbb_palm_tree copy paste resize 38% position on right of layer,
add drop shadow.
Select DAA_bbb_surfboard copy paste resize 32% position on palm tree,
add drop shadow
Add your tube resize if needed then add drop shadow.
Select DAA_bbb_flip_flops copy paste resize 26% move to left of frame,
add drop shadow.
Select DAA_bbb_hibiscus copy paste resize 65% add drop shadow position
below tube then duplicate resize 85% position to the left.
Select DAA_bbb_pinic_Basket copy paste position at bottom of frame resize
as needed, add drop shadow.
Select DAA_bbb_crab copy paste resize 23% position near water, see tag.
Add drop shadow.
Select DAA_bbb_pelican copy paste resize 65% move to top of frame,
add drop shadow.
Select DAA_bbb_SummerTime wordart copy paste resize 50% position below pelican,
add drop shadow.
Click on water 1 layer, using your Freehand Tool outline the water.
Adjust-AddRemoveNoise-Add noise. Gaussian-Noise20-Monochrome checked.
Repeat for water2 and 3 layer increase to 21 then 22 for these layers.
Close out w2 andw3 layers.
New Layer select all copy paste DAA_bbb_paper_9 into selection then apply mask-merge-merge group.
Add your Artist © and your name.
This is only a guide and feel free to use any other element you wish.
Most of all have fun creating.
Animation
1. Open AS then click back to Psp.
2. Edit-Copy Special-Copy Merged click into AS Paste as New Animation.
3. Close Water1 layer open W2 layer repeat above.Do this again with Water3 layer.
4. Ctrl+A (select all) check your animation then save as a Gif.
If you wish to show off your creations.Email me your creation and I will place it
on my show off Page. Thank you for using my tutorial.
Written and copyrighted to Maree (aka Falcon) on 9th July 2011.
Under no uncertain terms are you allowed to make money
from anything produced from this tut, this is against my TOU's.
Any similarities to this tutorial are purely coincidental.

No comments:
Post a Comment