Monday, February 28, 2011

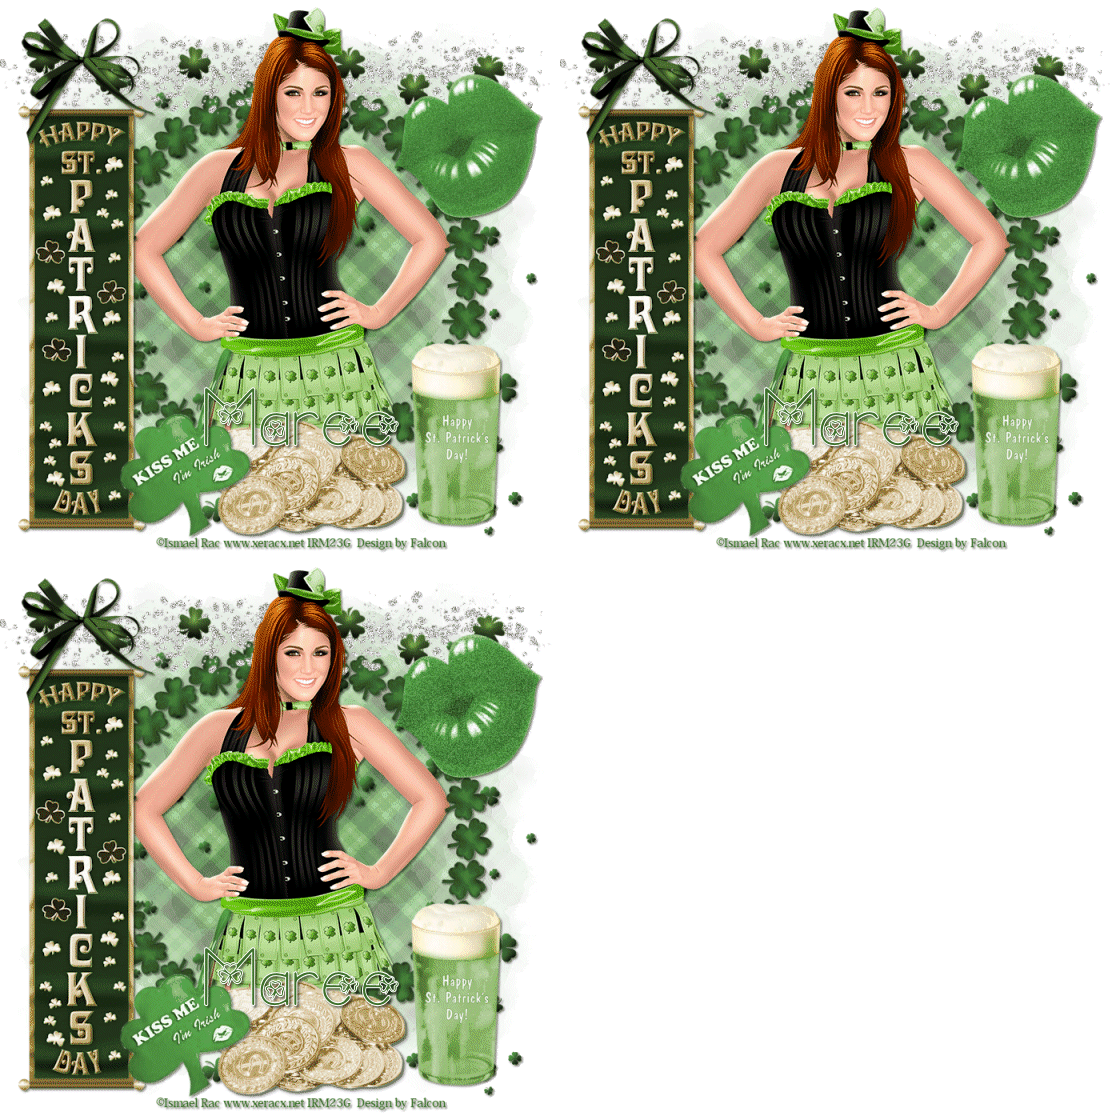
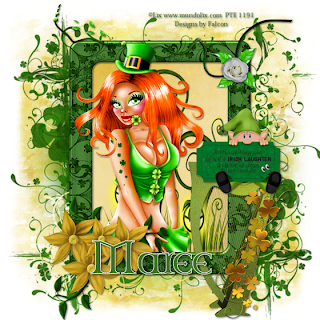
Kiss Me I'm Irish ♣


Supplies Needed

I'm using the artwork of © Ismael Rac, you find it Here
Scrap kit by Pink Candy Designs called St Patrick's Day Here
Font: LD Shamrock
Drop Shadow of choice.
Mask_27 by HorsePlays Pastures Here
Remember to Save Often!!!

Let's create
Open new image 650 x 650 floodfill with #ffffff.
New layer select all, open pp5 paste into selection, apply mask/merge/merge group.
Open clovers element paste above mask layer.
Open frame 2 copy/paste, resize if needed.
Open your tube and place under frame then using your Selection tool
outline the head of tube, righ click,Promote selection to layer,
move this above frame.
Open gold element resize 65% move to bottom of frme.
Open decor element place above coins.
Open glittertrail element paste above frame.
Open beer element resize 65% X 2, place on right side of frame.
Open lips element rise 85% move to right top of frame.
Open banner element move to left of layer, see tag.
OPen bow element resize 39% move above banner.
Click on lip layer duplicate twice remane L1,L2 L3 then
Effect dbs flux with these settings:

On layer L2 change to 20 hit mix button once then
on L3 change to 25 hit mix twice.

Give a Drop Shadow to all except your glitterrail and mask layers

Add your Artist © and your name then crop and save.
This is only a guide and feel free to use any other element you wish.
Most of all have fun creating.

Animation.
Open Animation then click into Psp.
In Psp click on L1 close out L2 & L3, Edit/copy special /copy merged, click into AS
Paste as new animation.
In Psp close out L1 open L2 make sure you are on this layer then repeat above.

Repeat above remembering to close out the last layer till all 3 are pasted into As.
Check your animation if happy save as a Gif


Email me your creation, so I can show off your creations on my blog.
Thank you for using my tutorial.

Written by © Maree (aka Falcon) on 27th February 2011
Any similarities to this tutorial are purely coincidental

Sunday, February 27, 2011

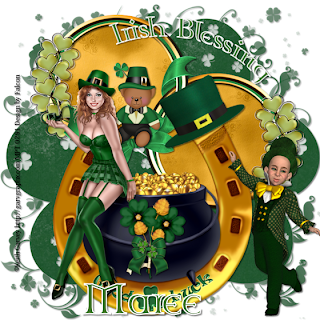
Irish Blessing ♣


Supplies Needed

I'm using the artwork of Keith Garvey,i purchased this tube at MPT
you now can find it PTE
Scrap kit by Puddicat Creations called Luck of the Irish Here
Font: Celtic Grammer th
Drop Shadow of choice.
Mask lmm_135 Here

Remember to Save Often!!!

Let's create

Open new image 650 x 650.
Select padc_paper14, new layer select all paste into selection/deselect.
Apply mask/merge group.
Select pdc_frame4 click inside with magic wand, new layer
copy paste pdc_paper2 into selection/deselect/move below frame.
Select pdc_horseshoe1 resize 85% center it onlayer
Open your tube paste resize if needed.
Select pdc_leprechaun2 resize 75% Image Mirror place on right side of horseshoe..
Select pdc_hat3 resize 42% place on right side of horseshoe,
use your Pick tool to give it an tilt to the hat.
Select pdc_shamrockflower1 resize 18% move down in front of pot of gold.
Select pdc-bow4 resize 29% place in front of flowers.
Select pdc_teddy2 resize 45% place in center of frame.

Add your Artist © and your name then crop and save.
This is only a guide and feel free to use any other element you wish.
Most of all have fun creating.

Email me your creation, so I can show off your creations on my blog.
Thank you for using my tutorial.

Written by © Maree (aka Falcon) on 26th February 2011
Any similarities to this tutorial are purely coincidental

Saturday, February 26, 2011

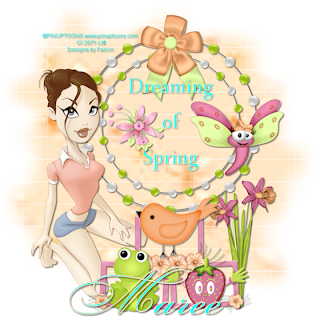
Dreaming of Spring ♥


Supplies Needed

I'm using the artwork of PinUpToons, you find it Here
Scrap kit by Scraps by Danille called Dreaming of Spring Here
Font:Aribic Typeset
Drop Shadow of choice.
Mask wsl_84 Here

Remember to Save Often!!!

Let's create

Open new image 650 x 650.
Open background Paper3 then click on Material pallet/Pattern then find paper 3 Angel0,Scale100.
New layer flood fill with pattern, apply mask merge.merge group.
Open Chrome Bead Frame 1 center on layer.
Open Bow Ribbon resize 65% move to top of frame.
Add your tube move to left of frame.
Open Frame with Flower2 move to bottom of layer.
Open daffodil resize 85%, Image/Miror, move to right of flower frame then duplicate resize

85%.Image/Mirror.
Open Elements Frog1, Bird, dragonFly1, Strawberry and Decoration resize as needed.
Give all a Drop Shadow, resize 80%.
I added the text using font Aribic typeset color #00ffff.
Add your Artist © and your name and save.
This is only a guide and feel free to use any other element you wish.
Most of all have fun creating.

Email me your creation, so I can show off your creations on my blog.
Thank you for using my tutorial.

Written by © Maree (aka Falcon) on 27th February 2011
Any similarities to this tutorial are purely coincidental
Wednesday, February 23, 2011

Irish Laughter ♣


Supplies

I'm using the artwork of Lix , you find it Here
Scrap kit by Puddicat Creations called My Lucky Irish Fairy, you can find it Here
Font: Celtic Garamond
Drop Shadow of choice.
Masks
DVB mask_120 Here
Lmm_ 134 Here

Remember to Save Often!!!

Let's create

Open new image700 x 700 we can resize later, flood fill with #ffffff.
Open pdc_frame1 resize 85% click inside with Magic wand/selections/Modify Expand 3.
open pdc_paper10/selections/Invert/hit Delete, move below frame.
New layer, open pdc_grasslights past into selection then move below frame.Deselect.
Open pdc_flowers4 move to top of frame, see tag.
Add your tube resize if needed.
Open pdc_harp1 resize 85% move to right bottom of frame.
Open pdc_Leprechaunw_Tag1 resize 65& move above harp.
Open pdc_flowers1 resize 47% move to left of frame.
New layer above background layer then open pdc_paper19 apply DBV_mask_120, Merge/merge group.
New layer above background layer paste pdc_paper20,
apply lmm_mask_134 Merge/merge group.
Give all a Drop shadow.
Image/Resize/ 80%.
Add your Artist © and your name then crop and save.
This is only a guide and feel free to use any other element you wish.
Most of all have fun creating.


If you wish to email me your creation, I then can show off your wonderful creations.
Thank you for using my tutorial.

Written by © Maree (aka Falcon) on 22nd February 2011
Any similarities to this tutorial are purely coincidental
Tuesday, February 22, 2011

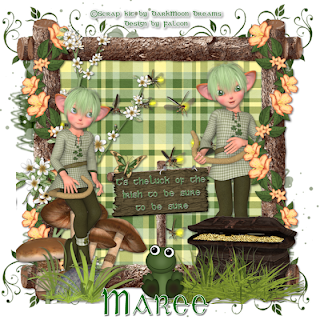
Shamrock Mischief ♣


Supplies

Tube of Choice
Scrap kit by DarkMoon Dreams called Shamrock Pixie you can find it Here
Font: Celtic Gaelige
Drop Shadow of choice.
Mask lmmask_134 Here
Remember to Save Often!!!

Let's create

Open new image 650 x 650.
Open Frame01_ShamrockPixie_DMD resize 85%.Click inside frame with Magic wand/selections/Modify/Expand 4.
Open Paper18_ShamrockPixie_DMD copy/paste/selections/Invert/hit Delete/
deselect/move below frame.
Open Pixie01_ShamrockPixie_DMD resize 65% move to left of frame.
Open Sign01_ShamrockPixie_DMD resize 38%,
Then add your text use the I one used or one of your own.
FG:ffffff/BG:006600, stroke 0.5.
Open Flower03_ShamrockPixie_DMD resize 85% move to side of frame/duplicate/Image/Mirror.
Open Branch01_ShamrockPixie_DMD resize 90% Image/Mirror.
Open Mushroon02_ShamrockPixie_DMD resize 65% move to left .
Open Grass03_ShamrockPixie_DMD resize 42% place in front of mushrooms.
Open Pixie04_ShamrockPixie_DMD resize 43% move to left so she is sitting on the mushrooms.
Open Frog01_ShamrockPixie_DMD resize 32% place at bottom of frame in front of sign.
Open Chest02_ShamrockPixie_DMD reisze 38% move to bottom right of frame.
Using your Freehand Selection tool around the gold in chest using these settings:
Open Grass01_ShamrockPixie_DMD resize 75% move in front of chest.
Open Firefly_ShamrockPixie_DMD resize90% paste above frame paper layer.
Open Butterfly01_ShamrockPixie_DMD resize 28% move so it is siting on edge of sign.
Give all a light Drop Shadow I used 2/2/50/3
Open Paper05_ShamrockPixie_DMD paste above background layer apply mask
Merge/merge group.

Add your Artist © and your name then crop and save.
This is only a guide and feel free to use any other element you wish.
Most of all have fun creating.

Email me your creation, I then can show off your wonderful creations.
Thank you for using my tutorial.

Written by ©Maree (aka Falcon) on 22nd February2011
Any similarities to this tutorial are purely coincidental.

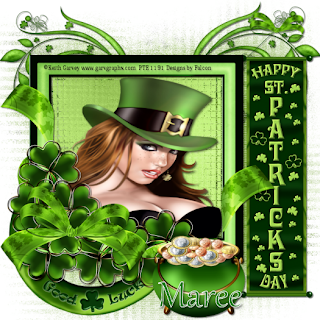
Irish Luck♣


Supplies

I'm using the artwork of Keith Garvey, you can find it Here
Scrap kit byPuddicat Creations called St Patricks Day PTU you can find it Here
Font:Gabriola
Drop Shadow of choice.
Mask wsl_81 Here
Remember to Save Often!!!

Let's create

Open new image 650 x 650.
Open pdc_paper15 apply mask/Merge/Merge group.
Open pdc_frame1 click inside frame with Magic Wand/Selections/Modify/Expand 3,
copy paste pdc_paper10.Effects/Textured Effects/Mosaic Glass with these settings:


Add your tube of choice,move below frame layer.
Open pdc_stpaddydoole3 paste above mask layer then resize 45%/duplicate/Image/Miror,move to top of frame, see tag.
Open pdc_horseshoe1 paste above doodle layer, resize75%, move to bottom left of frame.
Open pdc_sign1 move to right of frame resize 85%.
Open pdc_bow7 resize 43% move to top of sign, see tag.
Open pdc_potofgold resize 83% move to bottom of frame.
Give all a light Drop Shadow.

Add your Artist © and your name then crop and save.
This is only a guide and feel free to use any other element you wish.
Most of all have fun creating.

Email me your creation, I then can show off your wonderful creations.
Thank you for using my tutorial.

Written by© Maree (aka Falcon) on 21st February 2011
Any similarities to this tutorial are purely coincidental
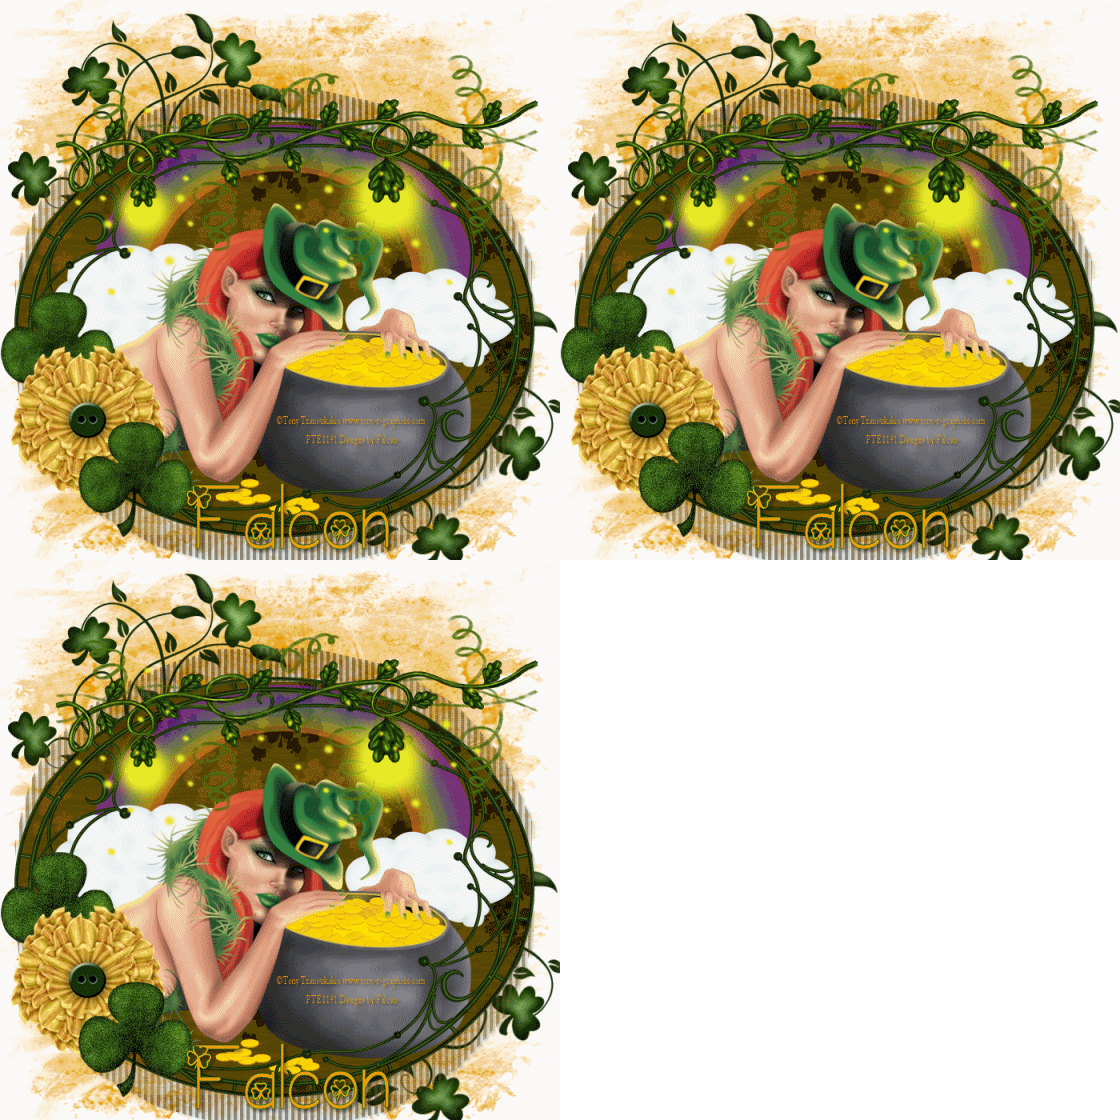
Lucky Erin ♣


Supplies

I'm using the artwork of Tony Tzanoukakis, you find at PTE
Scrap kit by Puddicat Creations called Lucky Erin you can find it Here
Font:LD_Shamrock
Drop Shadow of choice.
DVB Mask_124 Here

Plugin Needed
Dsb Flux
Bright Noise and Linear Transmission
Animation Shop
Remember to Save Often!!!

Let's create

Open new image 650 x 650.Floodfill layer with #fffffff.

Open pdc_frame using your Freehand Selection Tool outline the frame then copy paste
pdc_paper21/selections/Invert/Delete, move below frame/duplicate
then apply these settings to layer 1.
Open pdc_Rainbow paste below frame.
Add your tube of choice resize if needed.
Open pdc_button2 resize 65% move to left of frame.
Open pdc_stringlights paste above frame layer
Open pdc_shamrock1 resize 33% duplicate move the duplicate layer below the button layer.
Open pdc_Doodle3 resize 42% duplicate place on top and bottom of frame,
using your Pick Tool to realign to your liking.
New layer select all open pdc_Paper23 paste into selection
/deselect/apply mask/merge/merge group.
Give all a Drop Shadow, I used 2/2/60/6.

Add your Artist © and your name then crop and save.
This is only a guide and feel free to use any other element you wish.
Most of all have fun creating.

Animation
1. Select your shamrock layer then apply these setting:


2. Repeat on your 2nd shamrock layer.
3. Edit/Copy Special/Copy Merged click into As Paste as New Animation.
4. Repeat1 & 2 but this time use 20 then again with 25
5. View your animation when happy save as a Gif

Love to see your creation email me, as I would love to show them.
Thank you for using my tutorial.

Written by Maree (aka Falcon) on 22 February 2011
Any similarities to this tutorial are purely coincidental
© Maree(aka Falcon)

Sunday, February 20, 2011

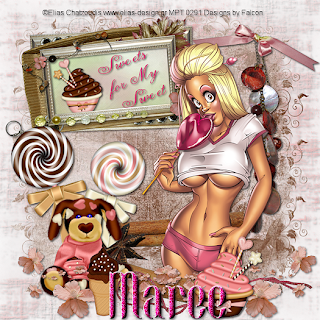
Sweets For My Sweet♥


Supplies

Tube of choice I'm using © , Here
Scrap kit by Jens Sweet Temptations called Sugar Sweet
this is a PTU you can purchase Here
Font: of Choice
Drop Shadow of choice.
Mask DBV_104 Here
Mask LMM_138 Here

Remember to Save Often!!!
Let's create

Open new image 650 x 650.
Open paper6 apply mask DBV_104 Merge/merge group.
Open paper 5 apply mask LMM_138 merg/merge group/duplicate.
Open Frame 1 click inside with Magic wand Selections/Modify/Expand3
copy pastePaper3Selections/Invert/hit delete/deselect,
move below frame layer.
Open cupcake 1 resize 38% Image/Mirrow move to left of layer.
Click on Text tool,I used Anglia Script or
one of choice type "Sweets for My Sweet", then
using the nodes on corner resize to fit frame, convert to raster.
Open Deco 2 resize 75% move to right top of layer.
Open Bow 1 resize 45% move above deco 2 .
Copy paste your tube move to right of layer.
Open Deco 3 move to lower botom of layer, then using either your
Freehand selection tool or Eraser Tool that you are comfortable using,
to remove part of deco in front of your tube. see below

Open Lollipop 5 & 6 resize both 75%.
Open Puppy resize 48% move to left of layer.
Open Ribbon 2 copy paste move to bottom of layer
Open Flowers 3 move to bottom of layer then duplicate/Image/Mirror.
Open Iceream 2 resize 65% move to bottom of layer near Puppy
Open Cupcake 2 reisze 47% move to bottom right of layer.
Give all a light Drop Shadow 2/1/50/2.


Add your Artist © and your name then crop and save.
This is only a guide and feel free to use any other element you wish.
Most of all have fun creating.

If you wish to email me your creation, I then can show off your wonderful creations.
Thank you for using my tutorial.

Written by Maree (aka Falcon) on 18th February 2011
Any similarities to this tutorial are purely coincidental
© Maree(aka Falcon)

Wednesday, February 9, 2011

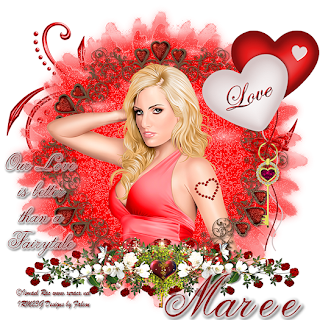
Better Than A Fairytale ♥


Supplies

I'm using the artwork of Ismael Rac, you find it at Here
Scrap kit Valentina-PTU by Le Paradis du Scrap you can find it Here
Font: of choice
Drop Shadow of choice.
Vaybs mask_135 Here
Remember to Save Often!!!
Let's create

Open new image 650 x 650.
Open Papier 12 apply mask Merge/merge group/duplicate.Adjust/Blur/Gaussian-10 on bottom mask

layer.On the Duplicated layer Effects/Xfeno/ Constellation using these settings
Open Cadre1 resize 90%.Add your tube of choice pasting below frame layer.
Using your selection tool outline around elbow area then holding down Shift
select part of the top of the tube, making it look like she popping out of the frame.
Then right click on tube layer click on Promote Selection to Layer.
Now X-out your tube layer.
Using your Magic Wand Tool click inside the hearts on the frame,
hold down the shift key to select each one.
Adjust/Add Noise/Unifor/tick Monochrome box/Noise-44/Deselect.
Open LPDS.Doodle1 copy paste below mask 1 layer resize 90%,
move slightly to left top of mask.
Open LPDS.Bouquetfleurs resize 83% move to bottom of frame.
Open LPDS.balloons resize 82% move to right of frame.
Open LPDS.Cle2 resize 69% move to ribbon on balloons,
using your Eraser Tool remove part of
the ring to give the effect its tied to the ribbon.
Open LPDS.Coeurroses resize 9% position it on the tube arm.

Add your Artist © and your name then crop and save.
This is only a guide and feel free to use any other element you wish.
Most of all have fun creating.


If you wish to email me your creation, I then can show off your wonderful creations.
Thank you for using my tutorial.

Written by Maree (aka Falcon) on 9th February 2011
Any similarities to this tutorial are purely coincidental
© Maree(aka Falcon)

Friday, February 4, 2011

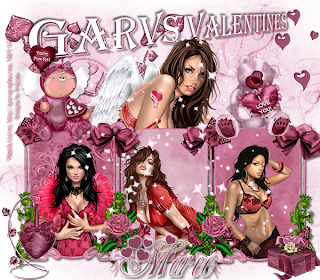
Garvs Valentines ♥


Supplies


I'm using the artwork of Keith Garvey,you will need 4 tubes,you can purchase them at MPT
Scrap kit Magical Valentine by Puddicat Creations yo can purchase it Here
Font: Algerain and MC Sweetie Hearts
Drop Shadow of choice.
HorsePlays Pastures mask_22 Here
Remember to Save Often!!!

Let's create

Open new image 700 x 600 floodfill with #ffffff we can resize later.

Open pdc_frame1 copy paste with Magic wand click inside frames/Selections/Modify/Expand 3.
Copy paste pdc_paper6, selections/Invert/hit delete,deselect then move paper below frames.
Open your 1st tube copy paste position then hit delete, move below frame.Right click Merge Visible. Repeat above twice using a different tube and papers I used pdc_paper 14,8.
Place them in a line till you are happy with it.
Add your last tube below these layers move to center resize if needed.
Open pdc_paper16 copy pasteabove background layer, apply mask/merge/merge group.
Open pdc_blingdust2above tube layers resize 65% move about till your happy with placement.
Open pdc_heart6 copy paste Image/Mirror resize 32% move to bottom left of layer.
Open pdc_gift3 copy paste resize 23% move to lower right of layer.
Open pdc_AngelKitty resize 24% place top of frame left side.
Open pdc_bear1 resize 23% move to top of frame right side.
Open pdc_flower1 resize 26% move to middle of frame set then duplicate/Image/Mirror.
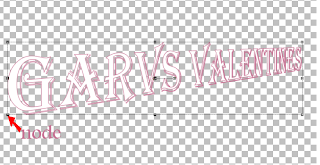
Click on text Tool click on masklayer. Using FG#ffffff and BG#c87394 type the words:
Garvs Valentines,holding down shift key click on
node below'G'pull it down till you have the angle you want.
Give this a drop shadow of 4/4/50/5.
Open pdc_hearts 5 resize 75% move to right near wordart.
Open pdc_heartleaves1 resize 95% paste below wordart move to left see tag.
All other layers give a Drop Shadow of 2/2/50/5.
Add your Artist © and your name then crop and save.
This is only a guide and feel free to use any other element you wish.
Most of all have fun creating.

If you wish to email me your creation, I then can show off your wonderful creations.
Thank you for using my tutorial.

Written by Maree (aka Falcon) on 4th February 2011
Any similarities to this tutorial are purely coincidental
© Maree(aka Falcon)

Thursday, February 3, 2011

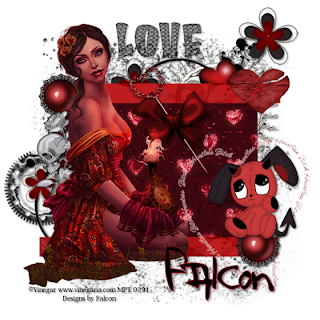
Heartless B*tch ♥


Supplies

I'm using the artwork of Vinegar, you can purchase it at MPT
Scrap kit Gothic Love PTU by DNScraps, you can purchase it Here
Font: 123 and....
Drop Shadow of choice.

Remember to Save Often!!!

Let's create

Open new image 650 x 650 floodfill with #ffffff.
Using your Selection tool draw out at large square then copy paste
darkgothiclovefvpaper 19 into selection. Deselect.
Now draw out a long oblong shape then copy paste
into selections darkgothiclovefvpaper 22, deselect
then duplicate place them at to and bottom of square.
Open darkgothiclovefvglittersbling3 paste above background layer resize 43%.
Open darkgothiclovefvhearts resize 75% paste above glitter layer.
Open darkgothiclovefvwordartlove2 resize 53% move to top of layer.
Open darkgothiclovefvbrokenheart resize 23% move to top right.
Open darkgothiclovefvbutton resize 18%, duplicate/Image/Flip/Mirror.
Open darkgothiclovefvtatoo resize 18% move to left.
Open darkgothiclovefvpin2 resize 29% Image/Mirror, move to center of square.Open
Open darkgothiclovefvbow resize 21% move to center over pin, see tag.
Open your tube copy paste resize if needed move to left of layer.
Open darkgothiclovefvemo Image/Mirror place on button.
Open darkgothiclovefvwordartheart2 resize 65% place over emo.
Give all a light Drop Shadow.

Add your Artist © and your name then crop and save.
This is only a guide and feel free to use any other element you wish.
Most of all have fun creating.


If you wish to email me your creation, I then can show off your wonderful creations.
Thank you for using my tutorial.

Written by Maree (aka Falcon) on 5th February2011.
Any similarities to this tutorial are purely coincidental
© Maree(aka Falcon)