Saturday, January 29, 2011

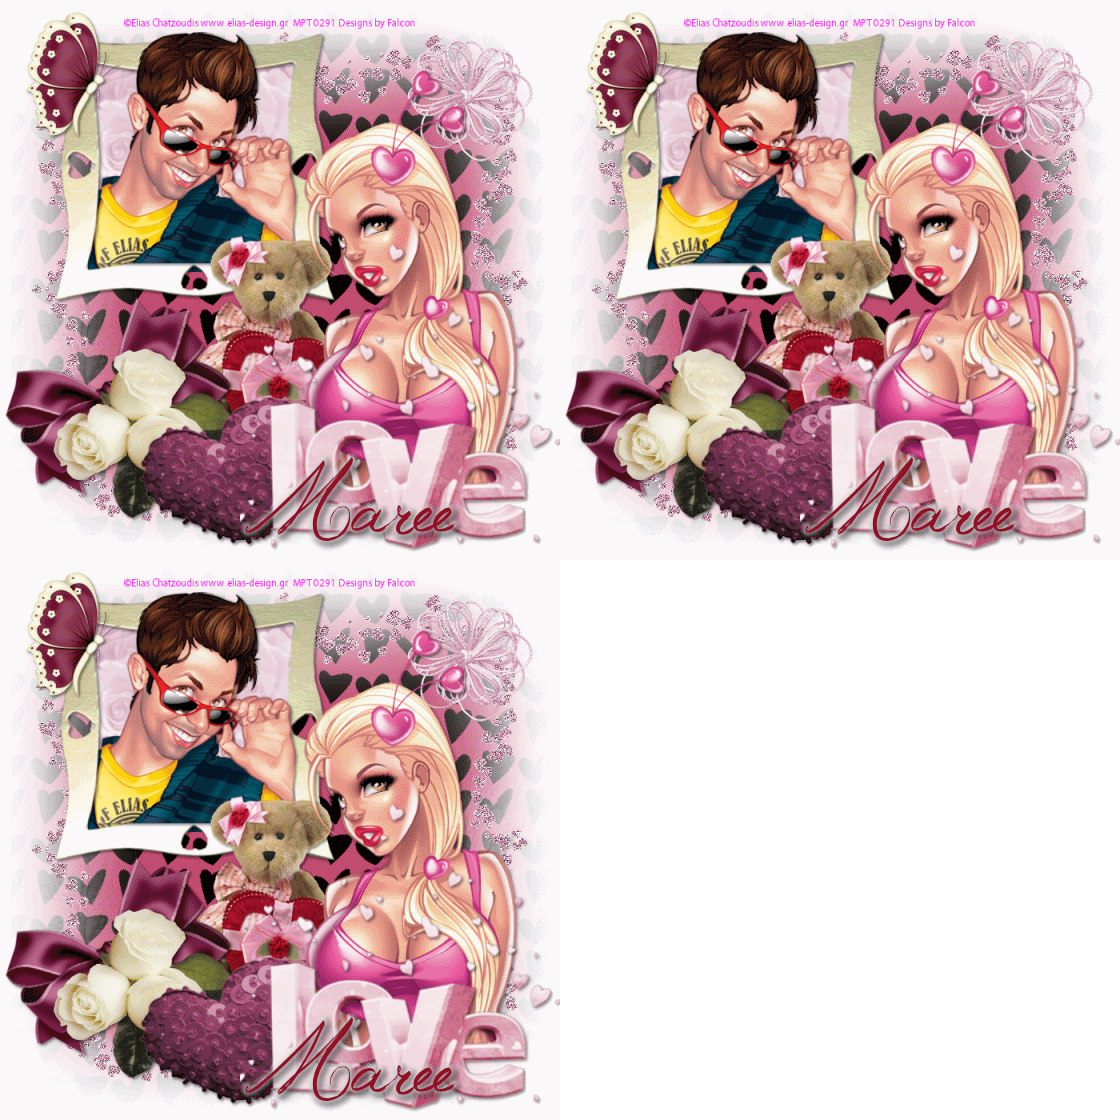
La Dreamy Valentine ♥


Supplies

I'm using the artwork of Elias Chatzoudis , you find it them at MPT
I used 2 tubes.
Scrap kit Creme Valentine -PTU by Destiny Scrap Designs.
you can find it Here.
Font:Jelly Western Princess
Drop Shadow of choice.
HorsePlay's Pastures mask_11 Here
Remember to Save Often!!!

Let's create

Open new image 650 x 650 flood fill with #ffffff.
New layer open DSD_CremeValentine_paper3 apply mask/merge group.
Open DSD_CremeValentine_Element_12 duplicate twice.
Layer 1 Adjust/Add Noise-25 repeat for layer 2-increase 30 & 3-increase 35.
Open DSD_CremeValentine_Element_07 paste to left of layer.
Add your 1st tube now and resize to fit frame.
Add your 2nd tube move to right of layer.
Open DSD_CremeValentine_Element_29 resize 75% move to top right of heart frame.
Open DSD_CremeValentine_Element_19 resize 68% move to bottom right of layer.
Open DSD_CremeValentine_Element_32 resize38% move to left of layer below frame.
Open DSD_CremeValentine_Element_28 resize 37% move next to wordart.
Open DSD_CremeValentine_Element_37 resize 28% move to left of layer,
Open DSD_CremeValentine_Element_26 resize26% move next to ribbon.
Open DSD_CremeValentine_Element_40 resize 22% move to left of frame.
Give all execpt your duplicated frame layers a Drop Shadow.
Open Animation Shop.
Add your Artist © and your name then crop and save.
This is only a guide and feel free to use any other element you wish.
Most of all have fun creating.

Animate.
1.X- out frame layers 2 & 3 click on 1st frame layer
Copy Special/copy merged paste in AS.
2. Repeat this for layers 2 & 3 pasting after current frame.
3.Resize animation if needed.
4. Save as a Gif.

If you wish to email me your creation, I then can show off your wonderful creations.
Thank you for using my tutorial.

Written by Maree (aka Falcon) on 28 January 2011
Any similarities to this tutorial are purely coincidental
© Maree(aka Falcon)

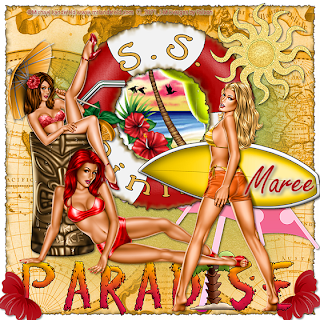
Paradise ♥


Supplies

I'm using the artwork of Michael Landefeld,I purchased tubes from
CILM they now can be purchased at CDO.
Scrap kit Vacation Time-PTU by Joyful Moments,
you can purchase it Here
Font: Freestyle Script
Drop Shadow of choice.
HorsePlay's Pastures mask_19 Here
Xfeno 2 - Burnt Edges
Remember to Save Often!!!

Let's create

Open new image 650 x 650 white background.
New layer select all paste JFMO_VactionTime-TS-P08 into selection, deselect.
Open JFMO_VactionTime-TS-P11 apply mask.
Open JFMO_VactionTime-TS-El 15 resize 65% apply Burnt Edge
s effect with these settings:


Click inside circle with Magic Wand I used a background from the artist.Selections Invert/Delete, move below element.
Open JFMO_VactionTime-TS-El 20 resize 25% move top right of layer.
Open JFMO_VactionTime-TS-El 16 move to bottom of layer.
Add your tubes and position them
Open JFMO_VactionTime-TS-El 05 resize 25% move to bottom left of layer, duplicate/ImageMirror move this below the wordart layer.
Open JFMO_VactionTime-TS-El 03 paste above mask layer, resize 50%,
move to right of layer.
Apply Xfeno-Burnt edges effect to your layer 1.
Give all a light Drop Shadow.

Add your Artist © and your name then crop and save.
This is only a guide and feel free to use any other element you wish.
Most of all have fun creating.


If you wish to email me your creation, I then can show off your wonderful creations.
Thank you for using my tutorial.

Written by Maree (aka Falcon) on 27 January 2011
Any similarities to this tutorial are purely coincidental
© Maree(aka Falcon)

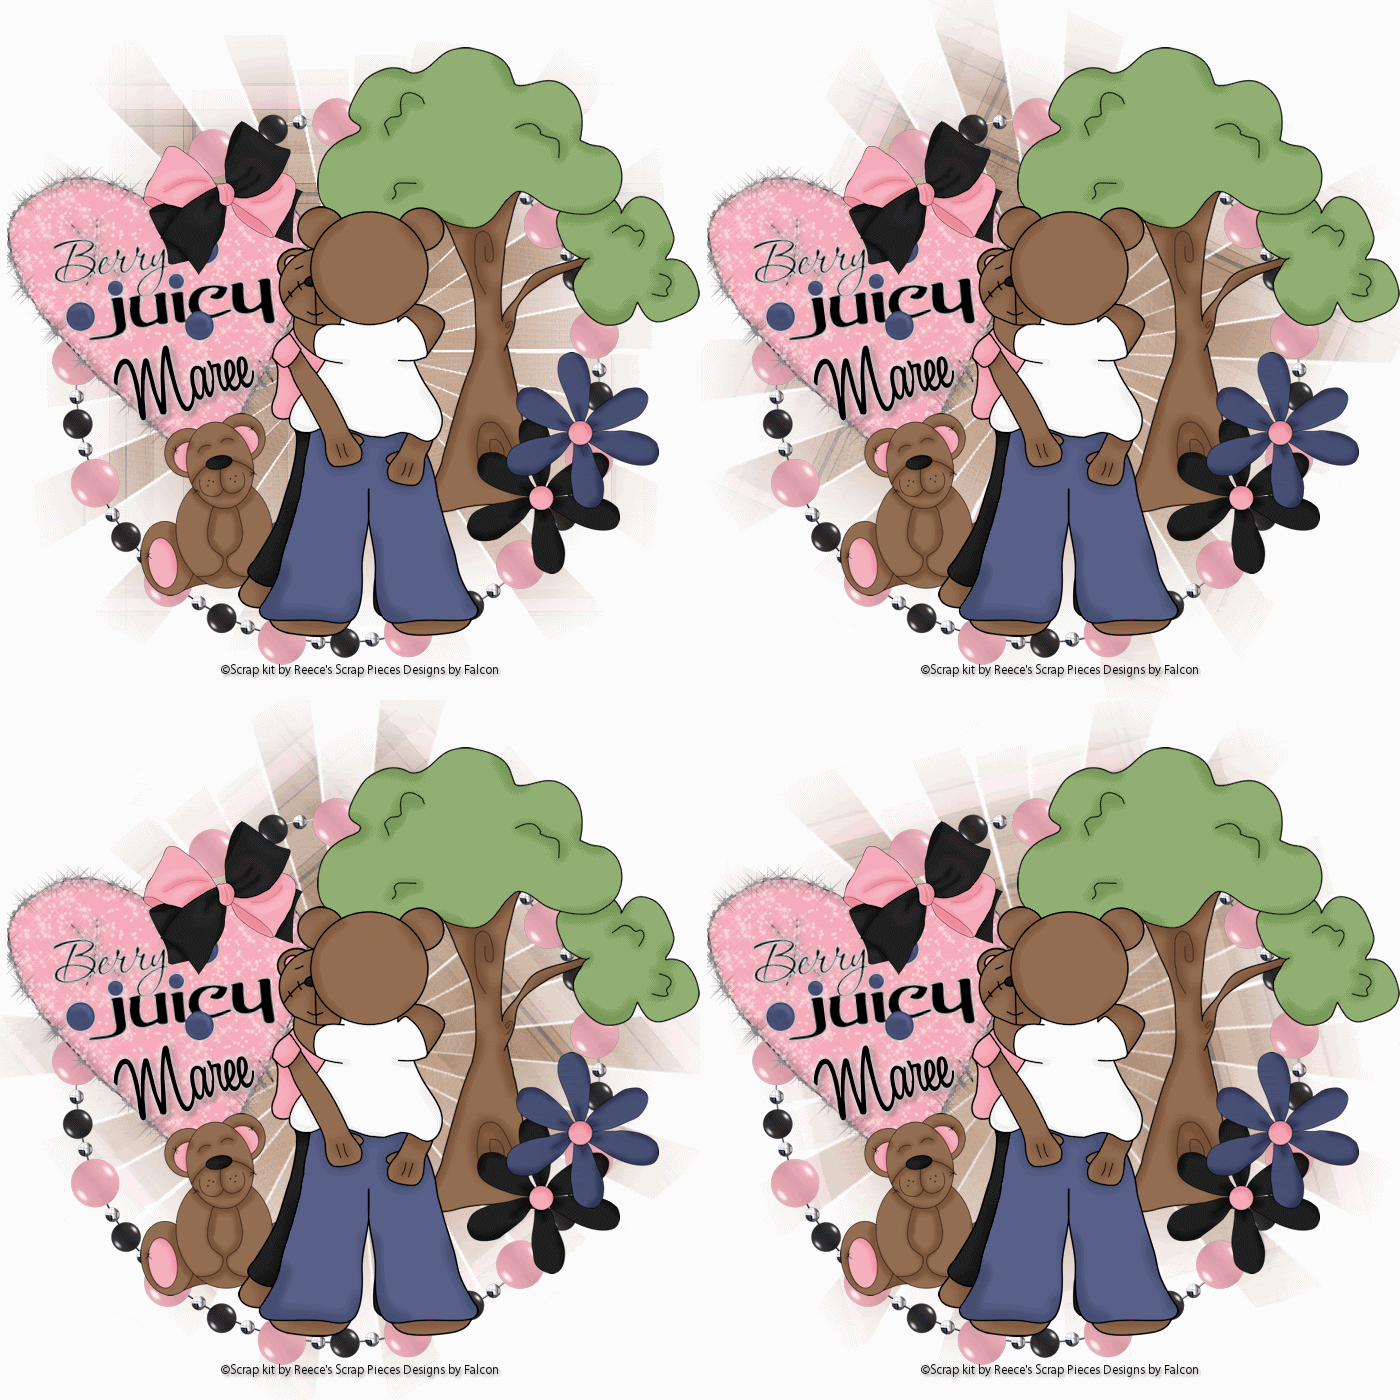
Berry Juicy ♥


Supplies
Tube of Choice
Scrap kit Naught Bears- PTU by Reece's Scrap Pieces,
you can purchase from Here.
Font: Al Serenade
Drop Shadow of choice.
HorsePlay Pastures mask_31 Here
Remember to Save Often!!!

Let's create
Open 600 x 600 flood fill with #ffffff.
Open new layer selections/select all, paste RSP_Naught Bears_paper3,
into selection. Deselect, then apply mask/merge/merge group.
Open RSP_Naught Bears_bead frame resize 25%
Open RSP_Naught Bears_heart 3 resize 27% move to left of layer.
Apply these settings to heart.


Open RSP_Naught Bears_wordart2 resize 22% move to center of heart.
Open RSP_Naught Bears_bow3 resize 23% move to top of heart, see tag.
Open RSP_Naught Bears_tree2 resize 54% move to right of layer.
Open RSP_Naught Bears_teddy bear resize 19% move to left of frame.
Open RSP_Naught Bears_Bear Grope resize 25% move to center of frame.
Open RSP_Naught Bears_flower and flower 2 resize both 9% move to right of frame.
Give all a light Drop Shadow.
Open Animation Shop.

Add your Artist © and your name then crop and save.
This is only a guide and feel free to use any other element you wish.
Most of all have fun creating.

Animation.
1. On mask layer Image/FreeRotate 25 Right.
2. Edit Copy Special/Copy Merged.
3. Paste as New Animation in AS.
4. Click into Psp repeat No 1 & 2, 3 times, Pasting after current frame.
You now should have 4 frames.
5.Click Animation /Frame Properties change to 25.
6.Save as a Gif.


If you wish to email me your creation, I then can show off your wonderful creations.
Thank you for using my tutorial.

Written by Maree (aka Falcon) on 28 January 2011
Any similarities to this tutorial are purely coincidental
© Maree(aka Falcon)

Friday, January 28, 2011

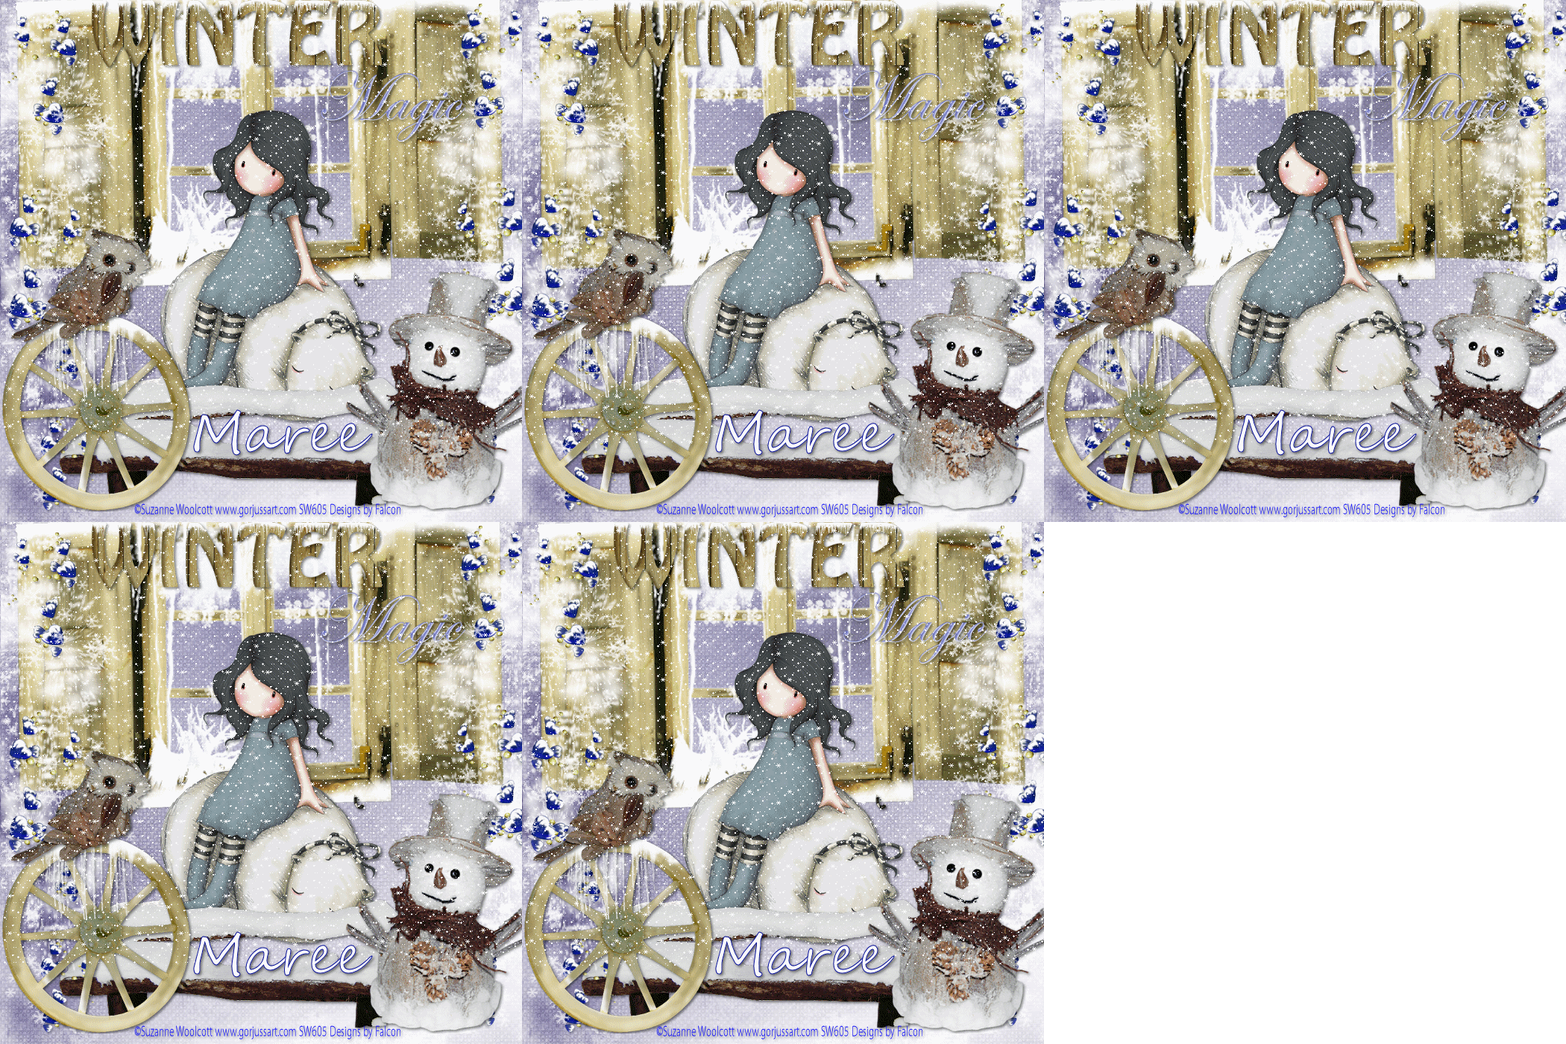
Winter Magic ♥


Supplies


I'm using the artwork of Suzanne Woolcott, you find her work Here
Scrap kit Winter Magic-PTU by Gina's Gem Scraps ,
you can purchase her work Here
Font: Segoa Script
Drop Shadow of choice.
Snow Here.
Remember to Save Often!!!

Let's create...

Open new image 650 x 650.
New layer select all copy paper2 from Add-on paste into selection.
Open GGS_WinterMagic_Snowy Window move to top resize 85%.
Open GGS_WinterMagic_Snow Hearts Deco 1 place on left side then
Duplicate/Image/Mirror.
Open your tube and center it, give a Drop Shadow.
Open GGS_WinterMagic_Bench resize 59%, move to bottom of layer.
Open GGS_WinterMagic_Icy Wagon Wheel resize 39% move to left of layer.
Open GGS_WinterMagic_Owl resize 21% move to top of wagon wheel.
Open GGS_WinterMagic_Snowman resize 23% move to lower right of layer.
Open GGS_WinterMagic_Wordart 1 resize 65% move to top of layer.
Give all a light Drop Shadow of choice.
Add your Artist © and your name then crop and save.
This is only a guide and feel free to use any other element you wish.
Most of all have fun creating.

To Animate.
Open As then click back to Psp.
Edit/Copy Special/Copy Merged.
Paste as New Animation in AS, then Ctrl+L hit 4 times,
you will now have 5 frames.
Click on the Propagate Paste button then
Open your chosen snow Ctrl+A copy/paste into selection (frame1)
Resize animation if needed. Save as a Gif.

If you wish to email me your creation, I then can show off your wonderful creations.
Thank you for using my tutorial.

Written by Maree (aka Falcon) on 27 January 2011
Any similarities to this tutorial are purely coincidental
© Maree(aka Falcon)
Tuesday, January 25, 2011

Heavenly Angel♥


Supplies

I'm using the artwork of Zindy Nielsen, you find her artwork Here
Scrap kit Heavens Angels by Broken Dreamz Scraps you can find it Here or Here
Font:Monte Carlo
Drop Shadow 2/2/50/5
Vaybs mask_133 Here
Remember to Save Often!!!

Let's create

Open new image 650 x 650.
New layer select all copy paste into selection 6he_heavens-angels-papers,
deselect apply mask, merge group.
Open 14he-heavens-angels-elements resize 69%.
OPen 29he-heavens-aneels-elements resize 43% move to left side of layer.
Open 46he-heavens-angels-element copy paste resize 65%.
Open 3he-heavens-angels-element copy paste resize 67% move to top right corner of layer.
Open 50he-heavens-andles-element copy paste resize 32% mve toward top of layer,
duplicate -Image-Mirror resize 75% move to top left of layer.
Move the dove so it looks like it is flying througn the gap in the curtains.
Open 4he-heavens-angels-elelments resize 53% move to left of layer.
Add your tube of choice now and give a light Drop Shadow, I used 1/1/50/4.
Open 6he-heavens-angels-elelments move to right of layer.
Open 38he-heavens-angels-elelments resize 42% move below your tube.
Open 5he-heavens-angels-elelments resize 25% move to right of tube near flowers, see tag.
Open 30he-heavens-angels-elelments resize 19% place on left of layer, see tag.

Add your Artist © and your name then crop and save.
This is only a guide and feel free to use any other element you wish.
Most of all have fun creating.

If you wish to email me your creation, I then can show off your wonderful creations.
Thank you for using my tutorial.

Written by Maree (aka Falcon) on 25 January 2011
Any similarities to this tutorial are purely coincidental
© Maree(aka Falcon)

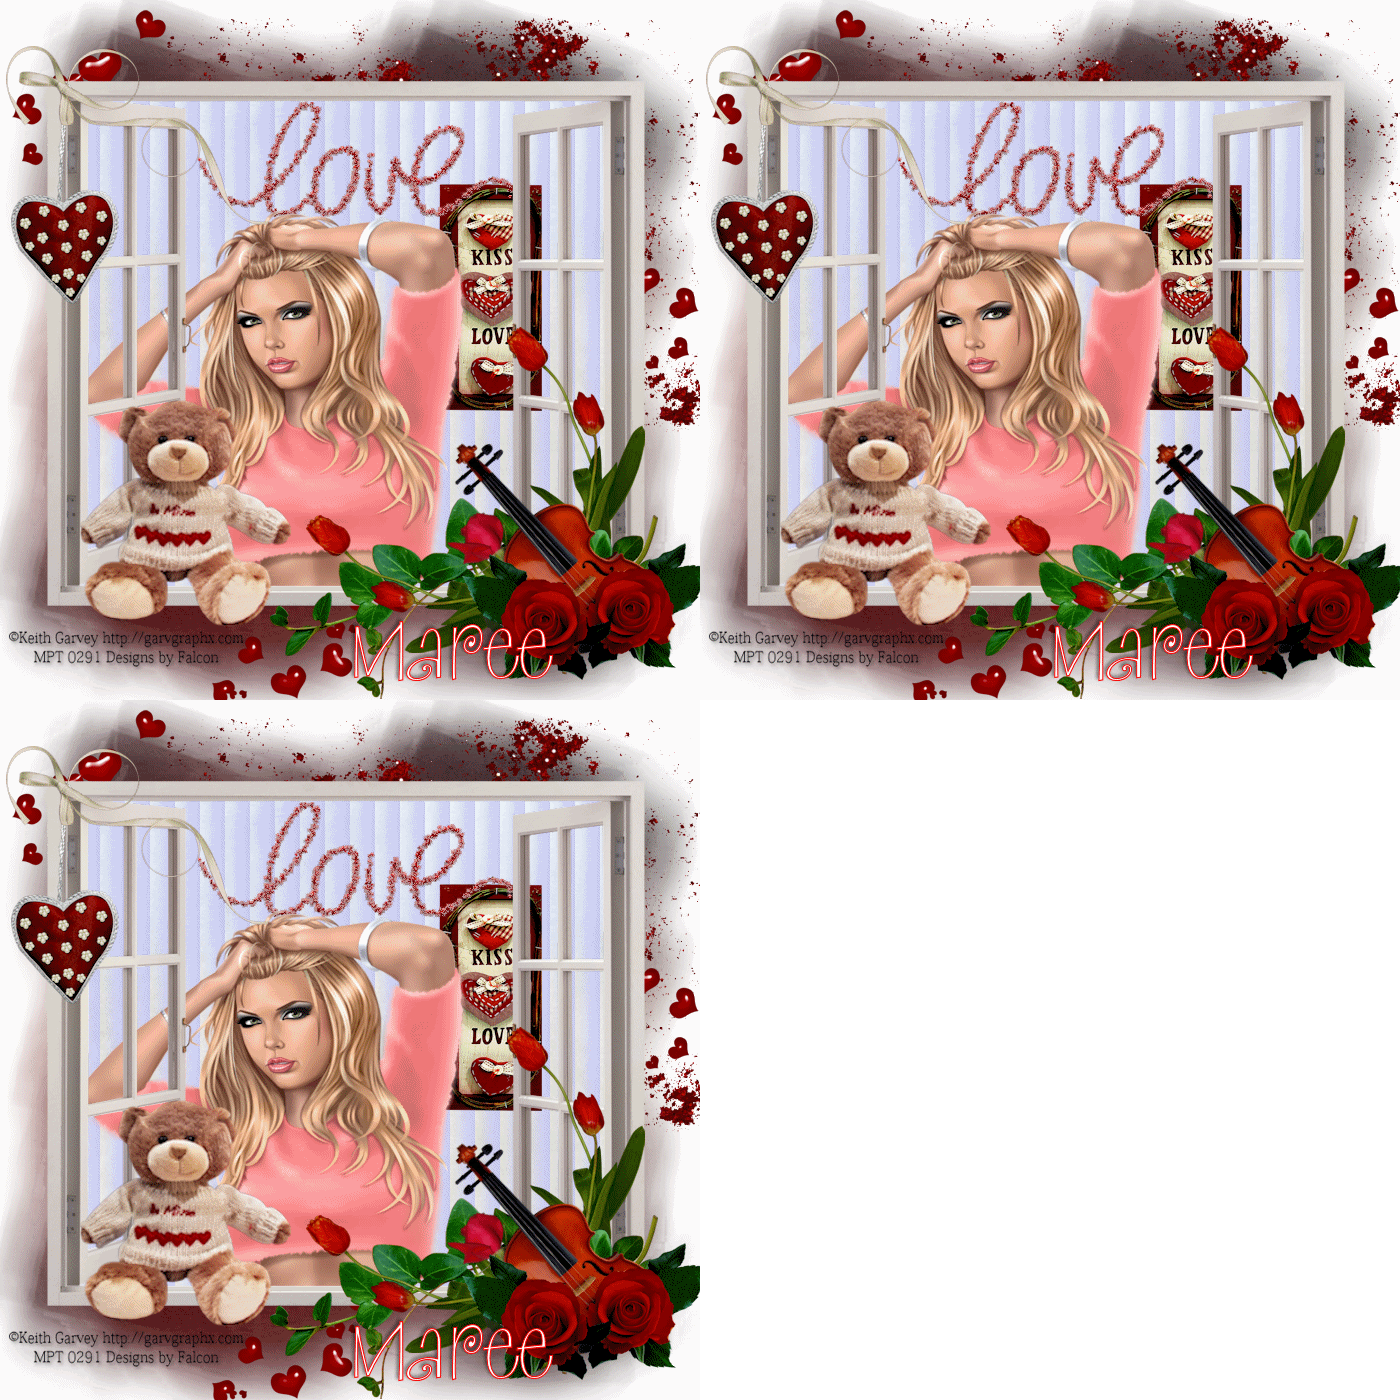
Forgotten Romace ♥


Supplies

I'm using the artwork of Keith Garvey , you find it at MPT
Scrap kit Romance- PTU by Seachell's Scrapz you can find it Here
Font:Sugar Shack
Drop Shadow of choice.
Vaybs mask_133 Here
Remember to Save Often!!!

Let's create

Open new image 650 x 650.
New layer select all copy paste into selection Seahell Romace_paper 9,
apply mask/merge group.
Open Seachell's_Romace_element 53 resize 85%.
Open Seachell's_Romace_element 25 resize 65% duplicate/Image-Mirror.
Open Seachell's_Romace_element 29 resize 85%.
New layer then using Selection tool draw a square around window,
floodfill with any color.Effects/Blinds using these settings and color #c0c0ff.

Move below frame.
Add your tube resize if needed.
Open Seachell's_Romace_element 9 resize 32% move to right of layer.
Open Seachell's_Romace_element 24 resize 75% duplicate this twice rename F1.2.3.
Then apply these settings using Constellation then hit random button
once on the next two layers.
Open Seachell's_Romace_element 45 resize 62% move to right corner of frame.
Open Seachell's_Romace_element 30 resize 43% Image/FreeRotate 90 left, duplicate.
Image/FreeRotate 45 Right move to right edge of frame.
Open Seachell's_Romace_element 39 resize 38% Image/FreeRotate 90 left,
duplicte using your pick tool move it to right, see tag.
Open Seachell's_Romace_element 31 resize 29% using pick tool angle slightly to ldft
Open Seachell's_Romace_element 27 resize 35% duplicae
Image/Mirror.Place i front ovf violin.
Open Seachell's_Romace_element 13 resize 48% move to left of frame.
Open Seachell's_Romace_element 4 resize 21% move to top left of frame.
Open Seachell's_Romace_element 5 resize 22% Image/FreeeRotate to left 90.
Move to top left of frame.Give all a Drop Shadow of 2/2/50/5.

Open Animation Shop.

Add your Artist © and your name then crop and save.
This is only a guide and feel free to use any other element you wish.
Most of all have fun creating.

To Animate:
1. X-out F2,F3 layers click on F1 Edit/Copy Special/Copy Merged Click into AS
Paste as New animation.
2. Repeat this for F2,F3.Pasting After Current frame.
3. Check your animation then Save as a Gif.

If you wish to email me your creation, I then can show off your wonderful creations.
Thank you for using my tutorial.

Written by Maree (aka Falcon) on 25 January 2011
Any similarities to this tutorial are purely coincidental
© Maree(aka Falcon)
Saturday, January 8, 2011

Loose Lips ♥


Supplies
I'm using the artwork ofKeith Garvey, you find it MPT
Scrap kit created by Kim's Korner called Ganster Love,
you can find it Here or Here.
Font: Modern No 20
Drop Shadow of choice.
Template_007 by Soaring hawk Here
Vaybs mask_133 Here

Remember to Save Often!!!

Let's create

Open template Shift+D close original.Delete © layer.
Click on layer 2 Selections/select all/Float/Defloat/paste kk_GL_paper 22 into selection/
copy paste your tube then deselect.On tube layer select Blend Mode/Luminance(legacy).
On layer 4 selections/select all/float/defloat paste kk_GL_paper 01/deselect.
Click on layer 7 Adjust/Add Noise/Uniform-45,
repeat this with layer 5 and 6-wordart layer.
Add your 2 tubes see tag for placement.
Click on background layer/add new layer/select all open kk_GL_paper24
paste into selection/deselect.Apply mask/duplicat.
On original layer resize 110%, Adjust/Blur/Gaussian blur-10.
Open kk_GL_Doodle01 and 02 paste resize 86%,
move around till happy with placement.
Open kk_GL_Mesh resize 85% Image/Flip.
Open kk_GL_CS_wire4 resize 78% move to right of layer.
Open kk_GL_Flower02 resize 37% move to left bottom of tube.
Open kk_GL_gun resize 36% using your Pick tool to angle it.
Open kk_GL_bullets resize 29% place to left of gun.
Open kk_GL_zipLio01 resize 32% move to right of gun.
Open kk_GL_hanging heart resize 56%.
Open kk_GL_Bow03 resize 67% place above heart.
Give all a Drop Shadow 2/2/50/5.

Add your Artist © and your name then crop and save.
This is only a guide and feel free to use any other element you wish.
Most of all have fun creating.

If you wish to email me your creation, I then can show off your wonderful creations.
Thank you for using my tutorial.

Written by Maree (aka Falcon) on 7 january 2011
Any similarities to this tutorial are purely coincidental
© Maree(aka Falcon)

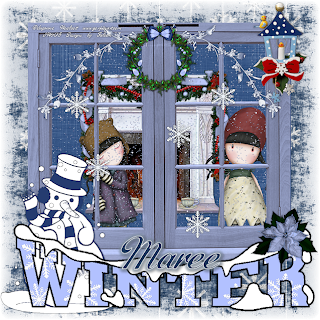
Winter Delite ♥


Supplies
I'm using the artwork of Suzanne Woolcott, you find it Here
Scrap kit created by Kim's Korner called Winter Delight ,
you can find it Here or Here
Font:
Drop Shadow of choice.
Vaybs mask_97 Here

Remember to Save Often!!!

Let's create

Open new image 650 x 650 flood fill with #ffffff.
OPen kk_BC_window with Selection Tool outline the window.
Open kk_BC_paper01 paste as new layer, Selections/Invert/Delete,
deselect move below frame.
OPen Kk_BC_Fireplace paste above paper layer then, resize 90%
OPen Kk_BC_coffee01 resize 15% duplicate place in front of fireplace.
Open your tube/s copy paste resize if needed.
OPen Kk_BC_branch duplicate place top of window.
OPen Kk_BC_Wrerath resize 23% percent move to top of frame.
OPen Kk_BC_light resize 22% place on right of frame.
OPen Kk_BC_Snowman01 place on left of frame.
Open kk_BC_WinterWordart02 resize75%.
OPen Kk_BC_JDD_poinsetta resize 22 percent place on right of wordart.
OPen Kk_BC_Snowflake01 resize 15% duplicate 4 times place on frame.
New layer Select all open Kk_BC_paper11 paste into selection, deselect.
Apply mask, merge group.
Give all a light Drop Shadow.


Add your Artist © and your name then crop and save.
This is only a guide and feel free to use any other element you wish.
Most of all have fun creating.

If you wish to email me your creation, I then can show off your wonderful creations.
Thank you for using my tutorial.

Written by Maree (aka Falcon) on 7 January 2011
Any similarities to this tutorial are purely coincidental
© Maree(aka Falcon)
Friday, January 7, 2011

WinterLand Friends♥


Supplies

I'm using the beautiful artwork of Suzanne Woolcott, you find it Here
Scrap kit created by MLH Scraps called Winter Storm,
you can find it Here
Font: Gabriola
Drop Shadow of choice.
Vaybs mask_111 Here
Remember to Save Often!!!

Let's create

Open new image 650 x 650.
Select MLH_WinterStorm_Frame4 click inside both frames with MagicWand/slections/Modify/Expand 4.
Open MLH_WinterStorm_paper1 Selections/Inver/Delete, move below frame.
Open your tube/s copy paste into frame/s.
Open MLH_WinterStorm_Snowflake 3 & 4 resize 32% duplicate place around frame.
Open MLH_WinterStorm_ resize 38% move top left of frame /Duplicate/Image-Mirror.
Open MLH_WinterStorm_Flower1 resize 75% place in center of frames.
Open MLH_WinterStorm_Snowflake1 resize I used different sizes around
the frame and on the background paper.
Open MLH_WinterStorm_RibbonHeart reize 87% place behind frame.
Open MLH_WinterStorm_60c0d8 resize 50% place this in
Pattern on Material Palette.
Using Magic Wand hold down Ctrl click on both frames-Flood fill frame.
Open MLH_WinterStorm_paper3 apply mask/merge group.

Add your Artist © and your name then crop and save.
This is only a guide and feel free to use any other element you wish.
Most of all have fun creating.

If you wish to email me your creation, I then can show off your wonderful creations.
Thank you for using my tutorial.

Written by Maree (aka Falcon) on 7 January 2011
Any similarities to this tutorial are purely coincidental
© Maree(aka Falcon)

Thursday, January 6, 2011

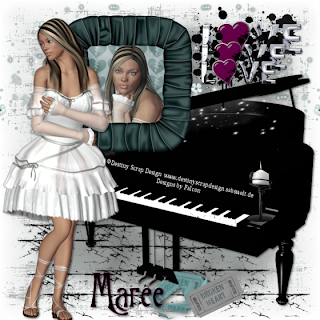
Shattered ♥


Supplies

I'm using the artwork of,DSD-Snowflake Blossom Poser you find them Here
Scrap kit created by Destiny Scrap Design called Broken Heart ,
you can find it Here.
Font:Burtons Nightmare
Drop Shadow of choice.
Vaybs mask_79 & 104 Here

Remember to Save Often!!!
Let's create
Open new image 650 x 650 and flood with #ffffff.
Open DSD+BrokenHeart_Element_49 resize 65%.
Click in frame with Magic wand
Selections/Modigy/Expand by4 copy,
paste new layer DSD_BrokenHeart_Paper_01 resize 60%.
Selections/Invert/Delete. Open DSD_SnowflakeBlosson_04 paste,
resize85%, hit delete move paper & tube below frame,
Deselect.Merge these layers together.Move over to the left.
Open DSD+BrokenHeart_Element_25 resize 75% move to right.
Open DSD+BrokenHeart_Element_29 resize 62% move till it is over pianno opening.
Open DSD+BrokenHeart_Element_16 resize 48% move to top right of layer.
Duplicate twice. On copy 1 resize 75% , copy 2 resize 85%.
Open DSD+BrokenHeart_Element_11 resize 55& place on end of piano.
Open DSD+BrokenHeart_Element_23 & 23 resize 52% place at bottom of piano.
Select a ticket then use these settings apply.


Open DSD+BrokenHeart_Paper_13above background layer,
apply mask_104 duplicate layers.
Open DSD+BrokenHeart_Paper_18 apply mask_79.
Open DSD+BrokenHeart_Element_17 resize 83% duplicate.
Image/Mirror.Add your tube, place on left of layer.
New layer Click on Paint Brush/distressed 3 using these settings:


Apply enough strokes to cover bottom half of layer.

Add your Artist © and your name then crop and save.
This is only a guide and feel free to use any other element you wish.
Most of all have fun creating.

If you wish to email me your creation, I then can show off your wonderful creations.
Thank you for using my tutorial.

Written by Maree (aka Falcon) on 6th January 2011
Any similarities to this tutorial are purely coincidental
© Maree(aka Falcon)
Tuesday, January 4, 2011

Snow In Love ♥


Supplies Needed

Scrap kit created by BooLand Designs called Snow In Love,
you can find it Here.
Font: Love
Drop Shadow of choice.

Remember to Save Often!!!

Let's create

Open new image 650 x 650.

Open bld_snowinlove_el-40 frame resize 23% click inside with Magic Wand.
Selections-Modify-Expand-4, open bld_snowinlove_bg-10 paste as new layer.
Resize if needed.
Selections-Invert-Delete.Move below frame.
With your Freehand selection tool out line the snow copy and paste-mirror,deselect.
Rename as snow.
Open bld_snowinlove_el-11 resize 14 percent, place between snow and paper layer.
repeat with bld_snowinlove_el-12.Or add your own tube.
X-out background layer,Merge-Merge visible.
Open bld_snowinlove_el-38 resize 12% Free Rotate 25-Left.
Open bld_snowinlove_el-1 resize 26%, move to left.
Open bld_snowinlove_el-12 resize 12% clean up edges of ribbon with eraser.
Open bld_snowinlove_el-3 resize 21% then by 50%
duplicate then move to sides of frame.
Open bld_snowinlove_el-37 bird 16% duplicate.Drop Shadow 0/0/40/4 white.
Open bld_snowinlove_el-39 resize 18% place behind frame top right side.
Open bld_snowinlove_el-21wordart resize 23%
Open bld_snowinlove_bg-11 paper resize 50% twice.

Add your Artist © and your name then crop and save.
This is only a guide and feel free to use any other element you wish.
Most of all have fun creating.

If you wish to email me your creation, I then can show off your wonderful creations.
Thank you for using my tutorial.

Written by Maree (aka Falcon) on 5th January 2011
Any similarities to this tutorial are purely coincidental
© Maree(aka Falcon)
Monday, January 3, 2011

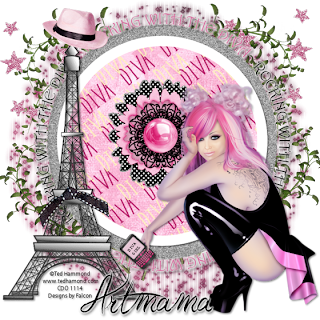
Rocking With The Diva ♥


Supplies Needed

Tube I'm the artwork of,Ted Hammond you find it at CDO
Scrapkit by BitsnBobs & Artmama called AC Divas Collab,
you can find it Here.
Font: Jellyka Western Princess
Drop Shadow of choice.
Weescotslass mask_74 Here
Remember to Save Often!!!

Let's create
This is made with Artmama Made part of collab.
Open new image 680 x 650.
Select Ellispe Preset tool set background color #Gray Gradient/style-Sunburst,
draw out a large circle.
Then select Text tool Harrington font 33 type Rocking with the Diva.
I used 2 different colors for the wording this is optional
Open AM_Diva Collab paper 08, then go to your Material pallet and select it in Patten-background.Select #ffffff foreground.
Draw out another smaller circle,Objects-Align-center in Canvas.
Open AM-Diva Collab embellie 37 place in center of 2nd circle.
Open AM-Diva Collab embellie 59 resize 75%,
Open AM-Diva Collab embellie 40 paste above background layer duplicate -Image-Mirror,Merge down. Duplicate move to bottom of cirlcle, see tag.
Open AM-Diva Collab embellie 06 paste above leaves. duplicate-Image-Mirror.
Open AM-Diva Collab embellie 02 resize 85%, move to the left.
Open AM-Diva Collab embellie 21 resize 43% place at top of tower.
Open AM-Diva Collab embellie 11 resize 75% place in tower,see tag.
Open your tube and paste to the right of layer.
Open AM-Diva Collab embellie 19 resize 23%, place this near your tube hand/fingers.
Using the Eraser tool carefully erase bits of
phone to show her finger holding the phone.
Place a message on phone-optional.
New layer select all open AM-Diva Collab paper 06 apply mask- merg group.


Add your Artist © and your name then crop and save.
This is only a guide and feel free to use any other element you wish.
Most of all have fun creating.

If you wish to email me your creation, I then can show off your wonderful creations.
Thank you for using my tutorial.

Written by Maree (aka Falcon) on 3rd January 2011
Any similarities to this tutorial are purely coincidental
© Maree(aka Falcon)
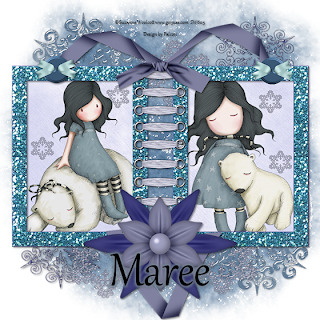
Divas Rock ♥

Supplies Needed

Tube I'm using the artwork of PinUpToons,you can now buy them at CDO
Scrapkit by Bits n Bobs & Artmama called AC Divas Collab,
you can find it Here.
Font: Hallolandletter
Drop Shadow of choice.
Weescotslass mask_83 Here
Remember to Save Often!!!

Let's create

This tag is created from the Bits n Bobs part of the Collab.

Open new image 600 x 650.
Open BNB-DC-frame-6 click inside each frame holding down ctrl,
selections-Modify-Expand by 6.
Open BNB-DC-Paper14 paste resize 75%, move over your frames
Selections-invert-Delete,deselect, move below frame.
Open your tubes I used 3 from this artist.Click inside frame with Magic Wand
select your tube and paste, Selections-Invert-Delete,
move below frame-Deselect.
Do the same for the other frames. X-out backgrund layer and Merge Visible.
Open background layer Selection-select all open BNB-DC-Paper3 Apply Mask,
merge group.Duplicate.
Open BNB-DC-6 resize 75% ,move to left of frame, duplicate-Image-Miror-Flip.
Open your main tube and place.
Open BNB-DC-48 resize 65% Image-Mirror
Open BNB-DC-47 resize 45% move next to other flower.
Open BNB-DC-49 move to bottom of frame.
Open BNB-DC-57 wordart place above frame.
Open BNB-DC-58 wordart place below frame, see tag.
used these setting Gradient Glow to define the wordart.


Open BNB-DC-26 resize 29% place right bottom of wordart
Open BNB-DC-39 resize 27% Image-mirror place in center of frame.
Give all a light Drop Shadow of choice.


Add your Artist © and your name then crop and save.
This is only a guide and feel free to use any other element you wish.
Most of all have fun creating.

If you wish to email me your creation, I then can show off your wonderful creations.
Thank you for using my tutorial.

Written by Maree (aka Falcon) on 3rd January 2011

Any similarities to this tutorial are purely coincidental
© Maree(aka Falcon)